Effective data presentation can make or break an application. Developers have an option to render the list items and cards for a custom presentation of the field values mixed with the text, hyperlinks, actions, and images.
Customize your list items and cards with JavaScript!
Here is how the Edit and Delete actions are represented in the items and cards when specified as icons.
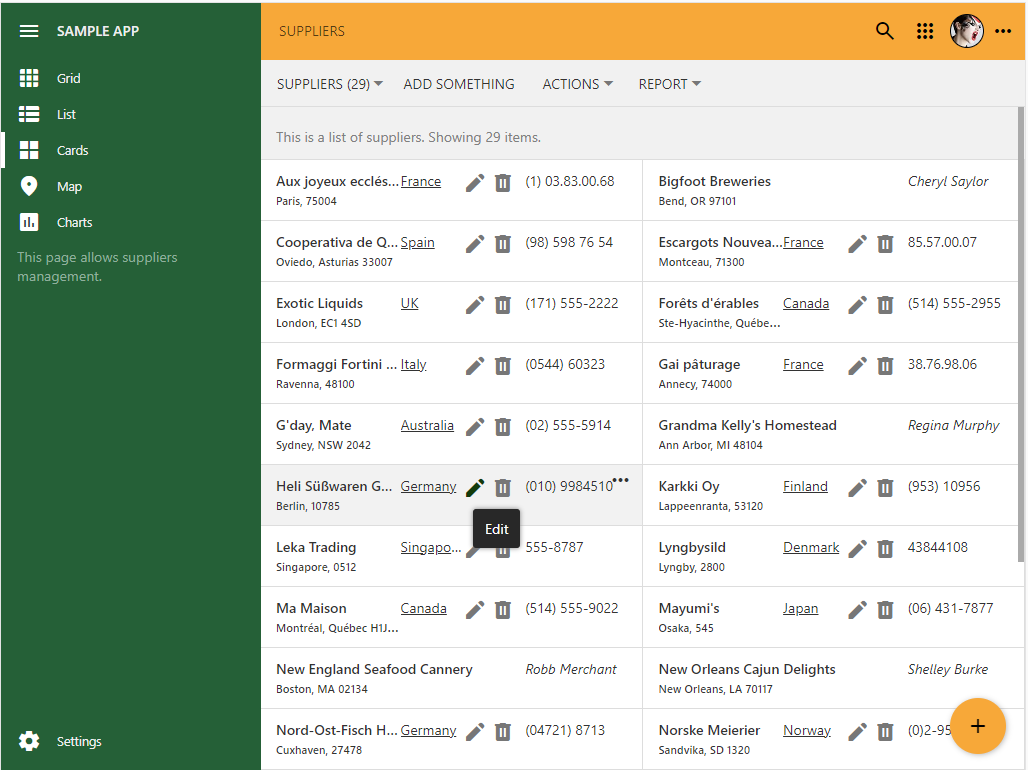
The data controller actions can render as icons in the item and layouts. The vast library of Google Material Symbols provides the source of beautiful pictograms for an application created with Code on Time app builder.
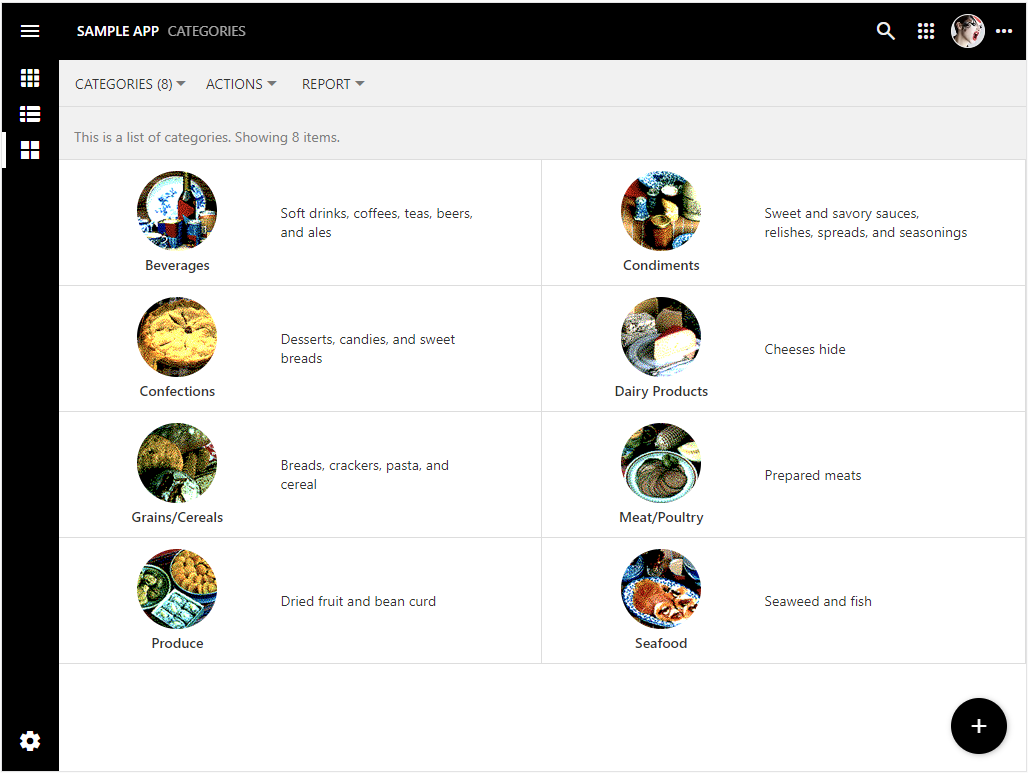
The cards of product categories have the category image and text centered side-by-side in the middle.
The minimal JavaScript code and HTML markup can liven up the default rendering of even the simplests sets of data.